

Email templates
A template is a subject and an HTML body in your branding, with{tags} for the parts that change per email, such as {customer.first_name}. Flows and Abbie send from a published template. Only the published version is ever sent.
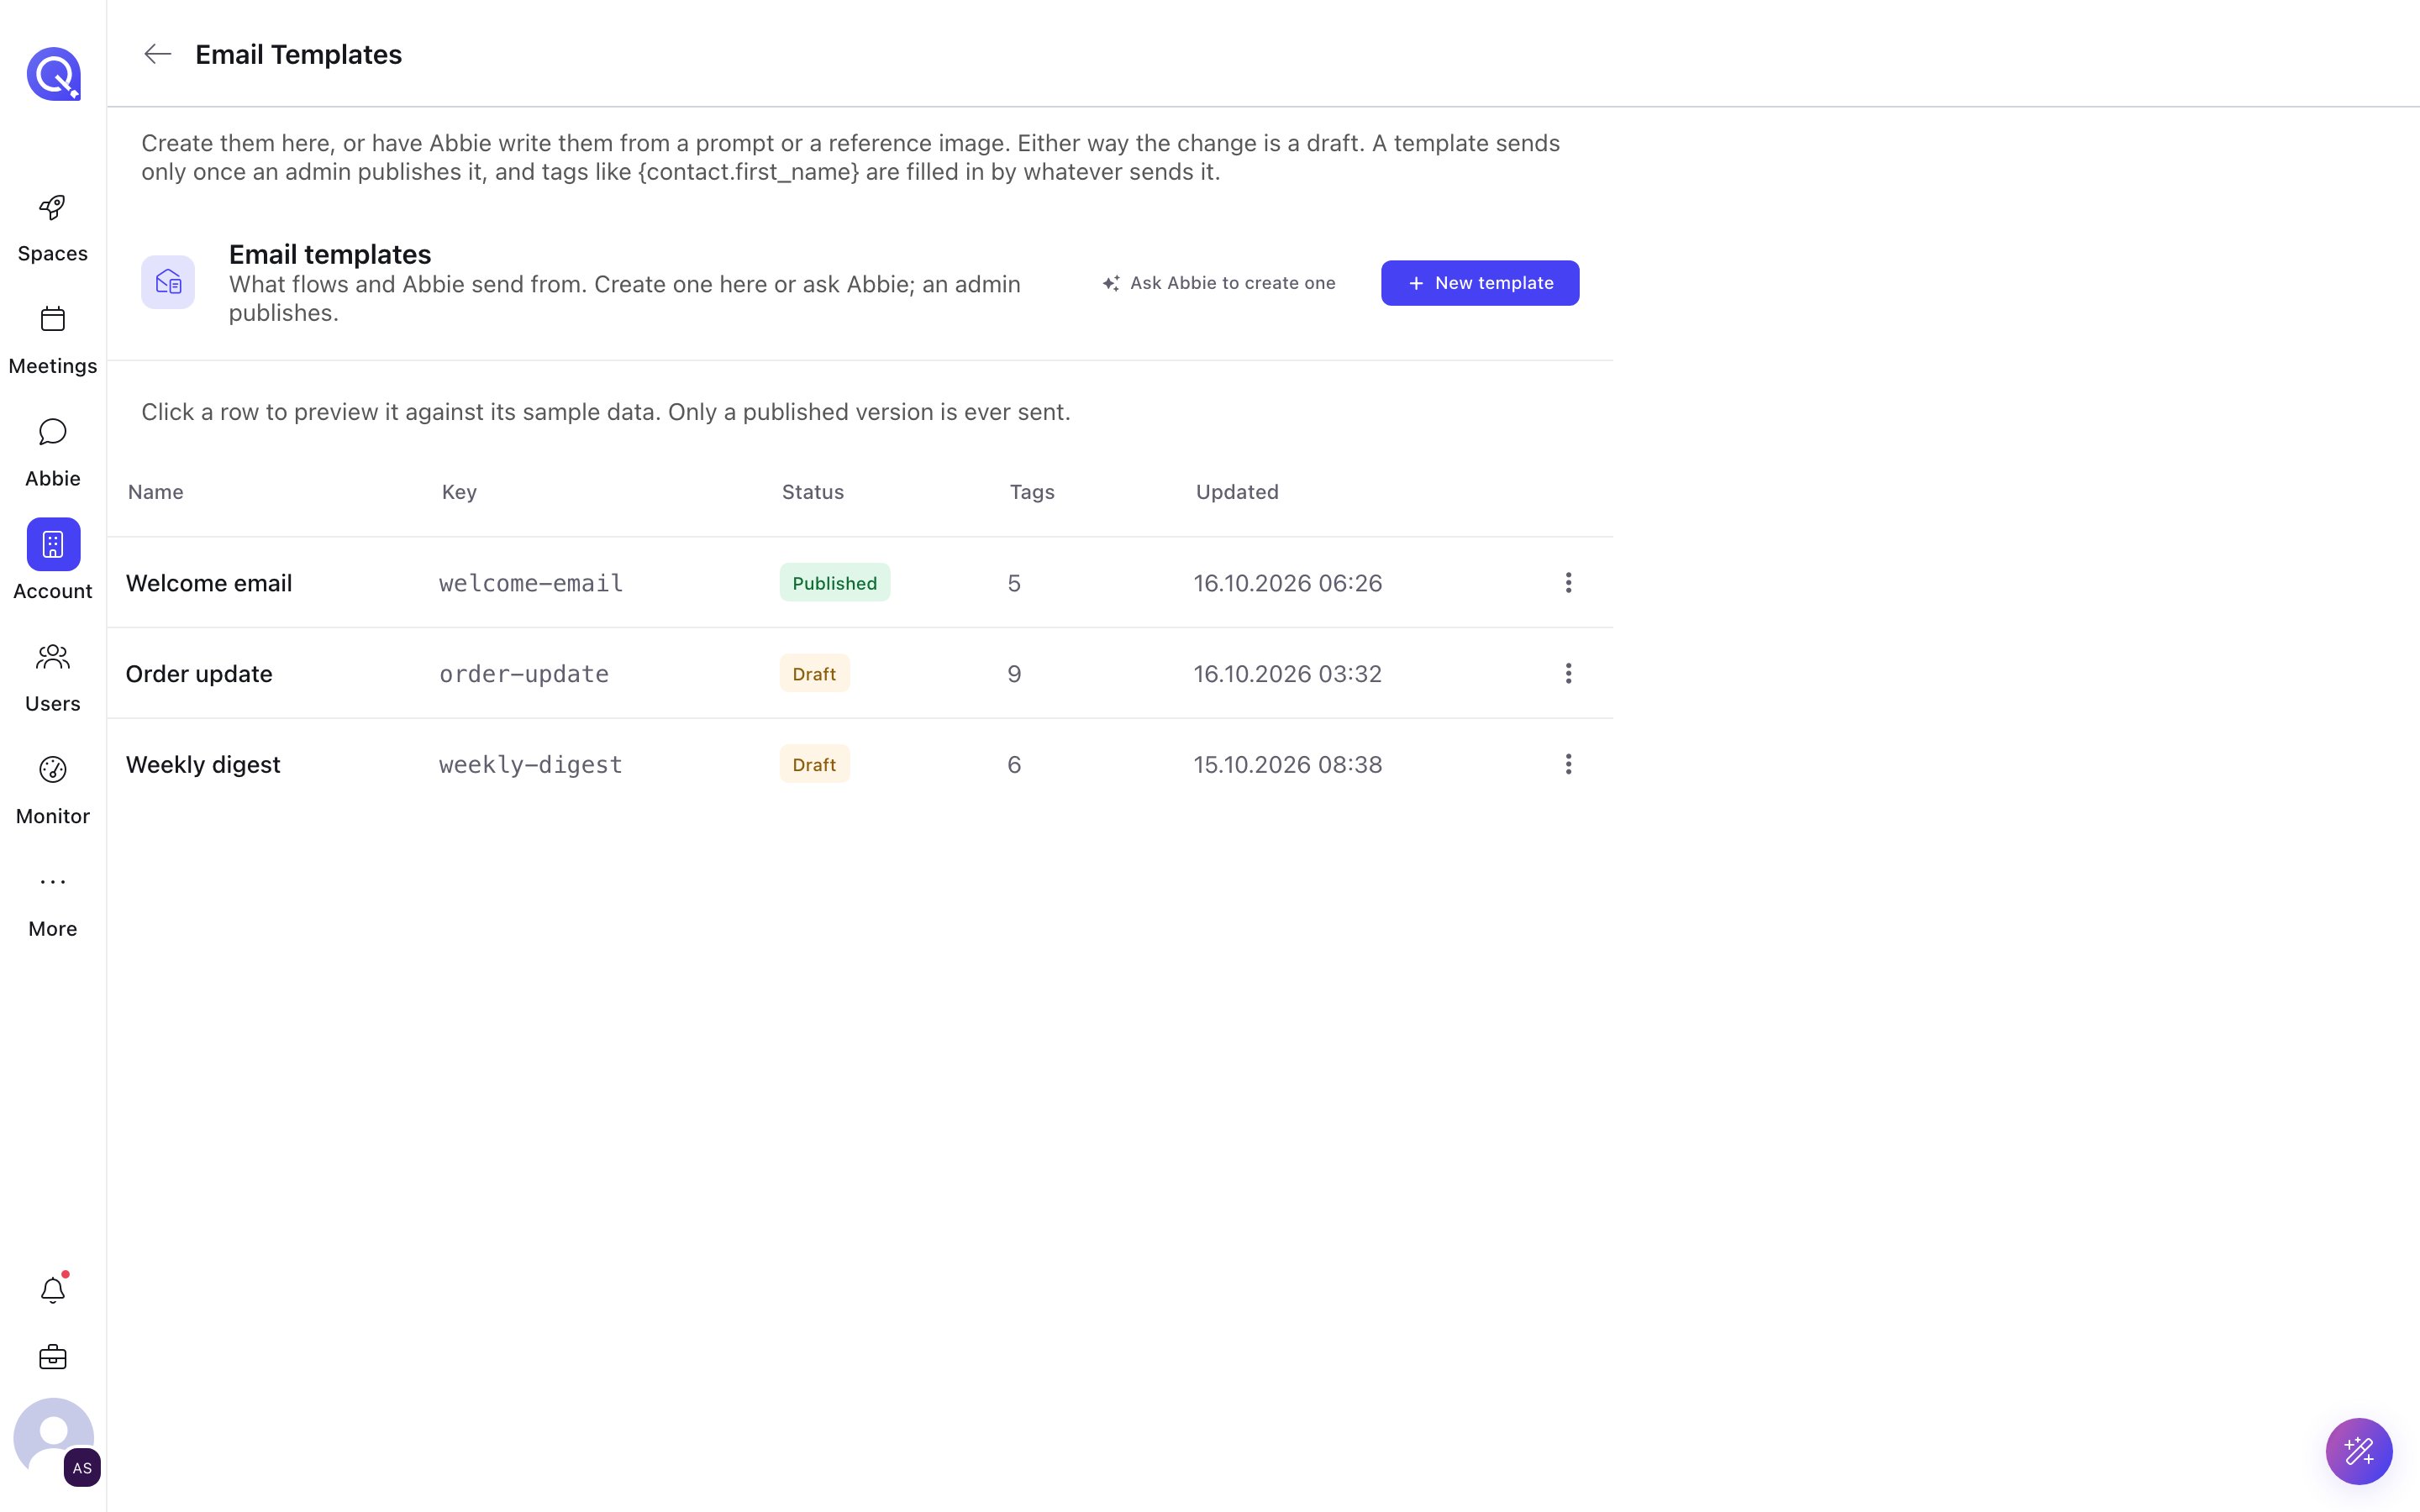
The Email templates page: each template with its key, status, tag count and last update.
1
Create it
Open Email templates. Either click Ask Abbie to create one, which opens a chat with a prompt ready for you, or click New template, give it a Name and Description, and choose Create and edit. Abbie can work from a written brief, a reference image or a reference document, and writes the result as a draft.
2
Preview it
Click a row. The preview renders against the template’s sample data. Switch between Draft and Published, Desktop and Phone, and HTML or plain text. Any tag the sample data does not answer is called out.
3
Edit the draft
Choose Edit to change the Subject, the HTML, the plain-text version and the sample data. Save draft keeps it unpublished. You can also attach files, which are sent with every email once the template is published, up to 6 MB in total.
4
Publish
An admin publishes the draft. Discard throws the draft away and leaves the published version as it was.
Creating and editing drafts is open to any member. Publishing, discarding and deleting need an admin.
{account.*} and {sender.*} tags. A send is refused, naming the tags, if any tag cannot be filled. Deleting a template that a flow still uses is allowed; the flow’s next send fails and names the missing template.
Use Record data in the preview to merge a record set’s fields into the sample data.
Email delivery
Email delivery shows what became of each email in the last 90 days, newest first. The columns are To, Subject, Status, Type, Template and Sent. Filter by status or by recipient, and open a row for its full event history. Account emails carry a readable type, such as Credit warning and Storage warning.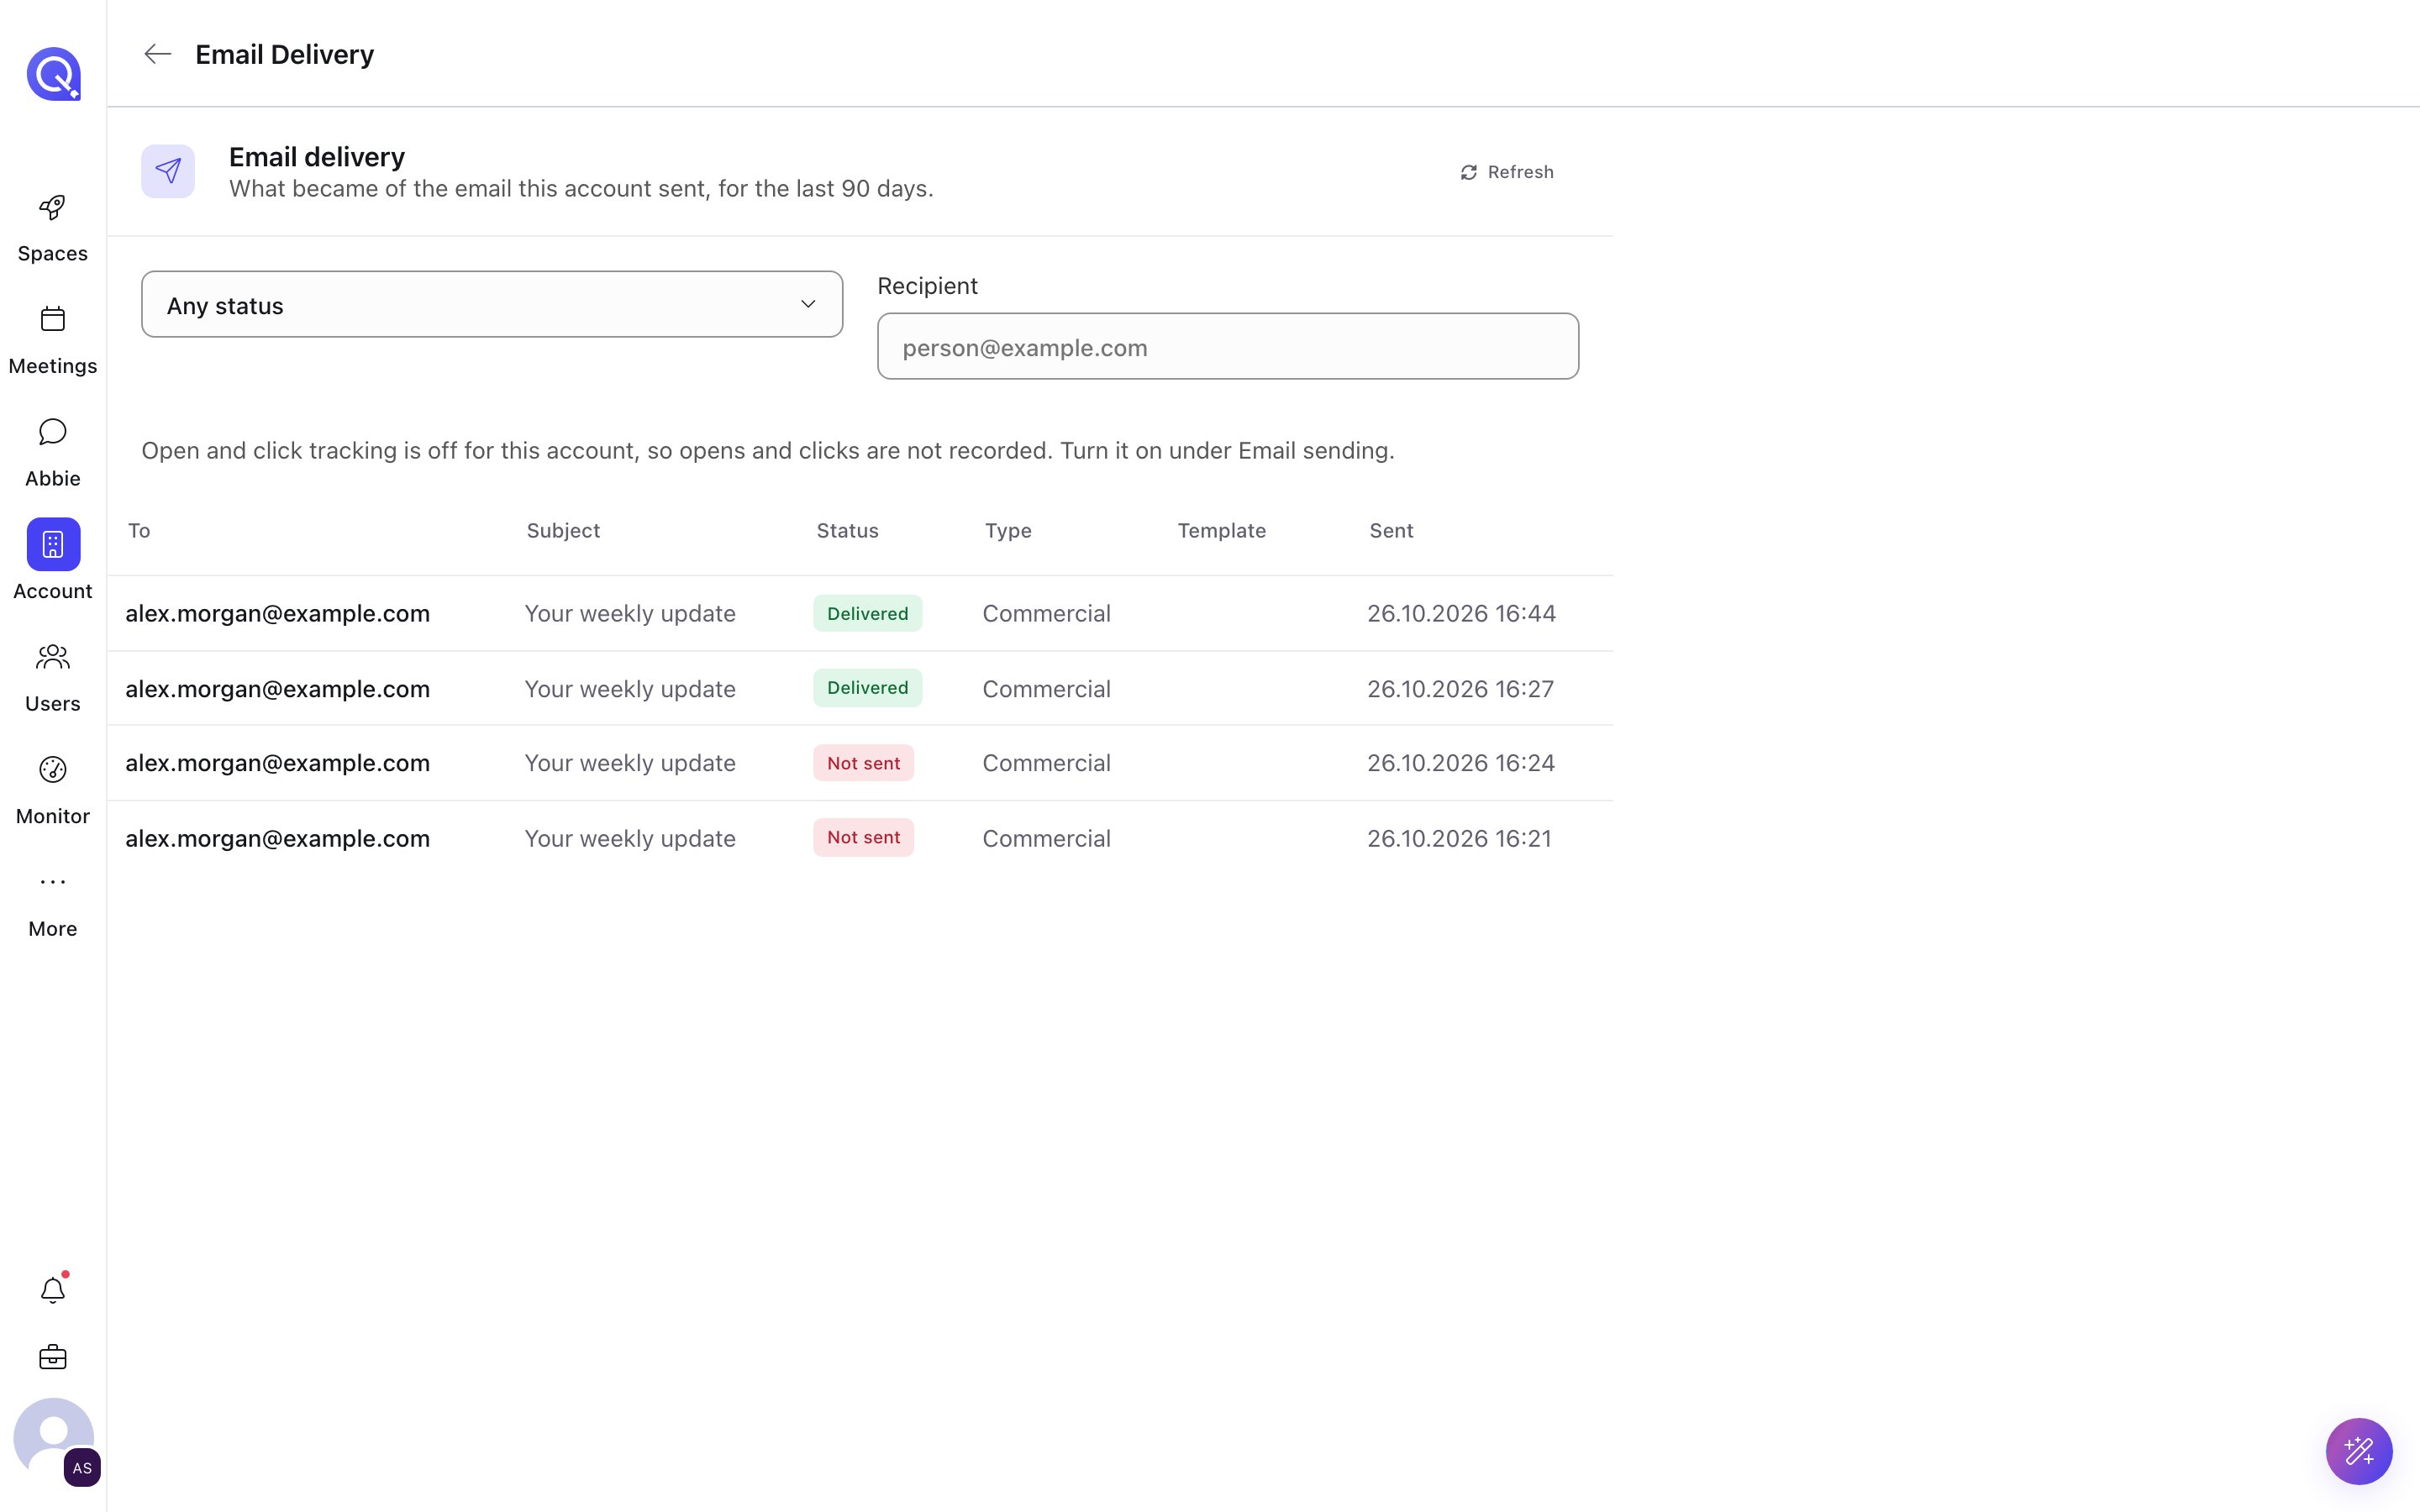
The Email delivery log, newest first, with the status and recipient filters above it.
Pick a space and a task is created for each recipient whose email fails. Leave it on No task to turn it off. To react in other ways, such as a notification or a retry, use the Email delivery trigger.
Off by default. When on, QuivaWorks records when a recipient opens a message and when they click a link in marketing mail. Your account must tell recipients it does this. Sent and failed mail is always recorded, whatever this is set to.
Suppression list
The suppression list holds addresses that will not be written to. They get there automatically, or you can add them.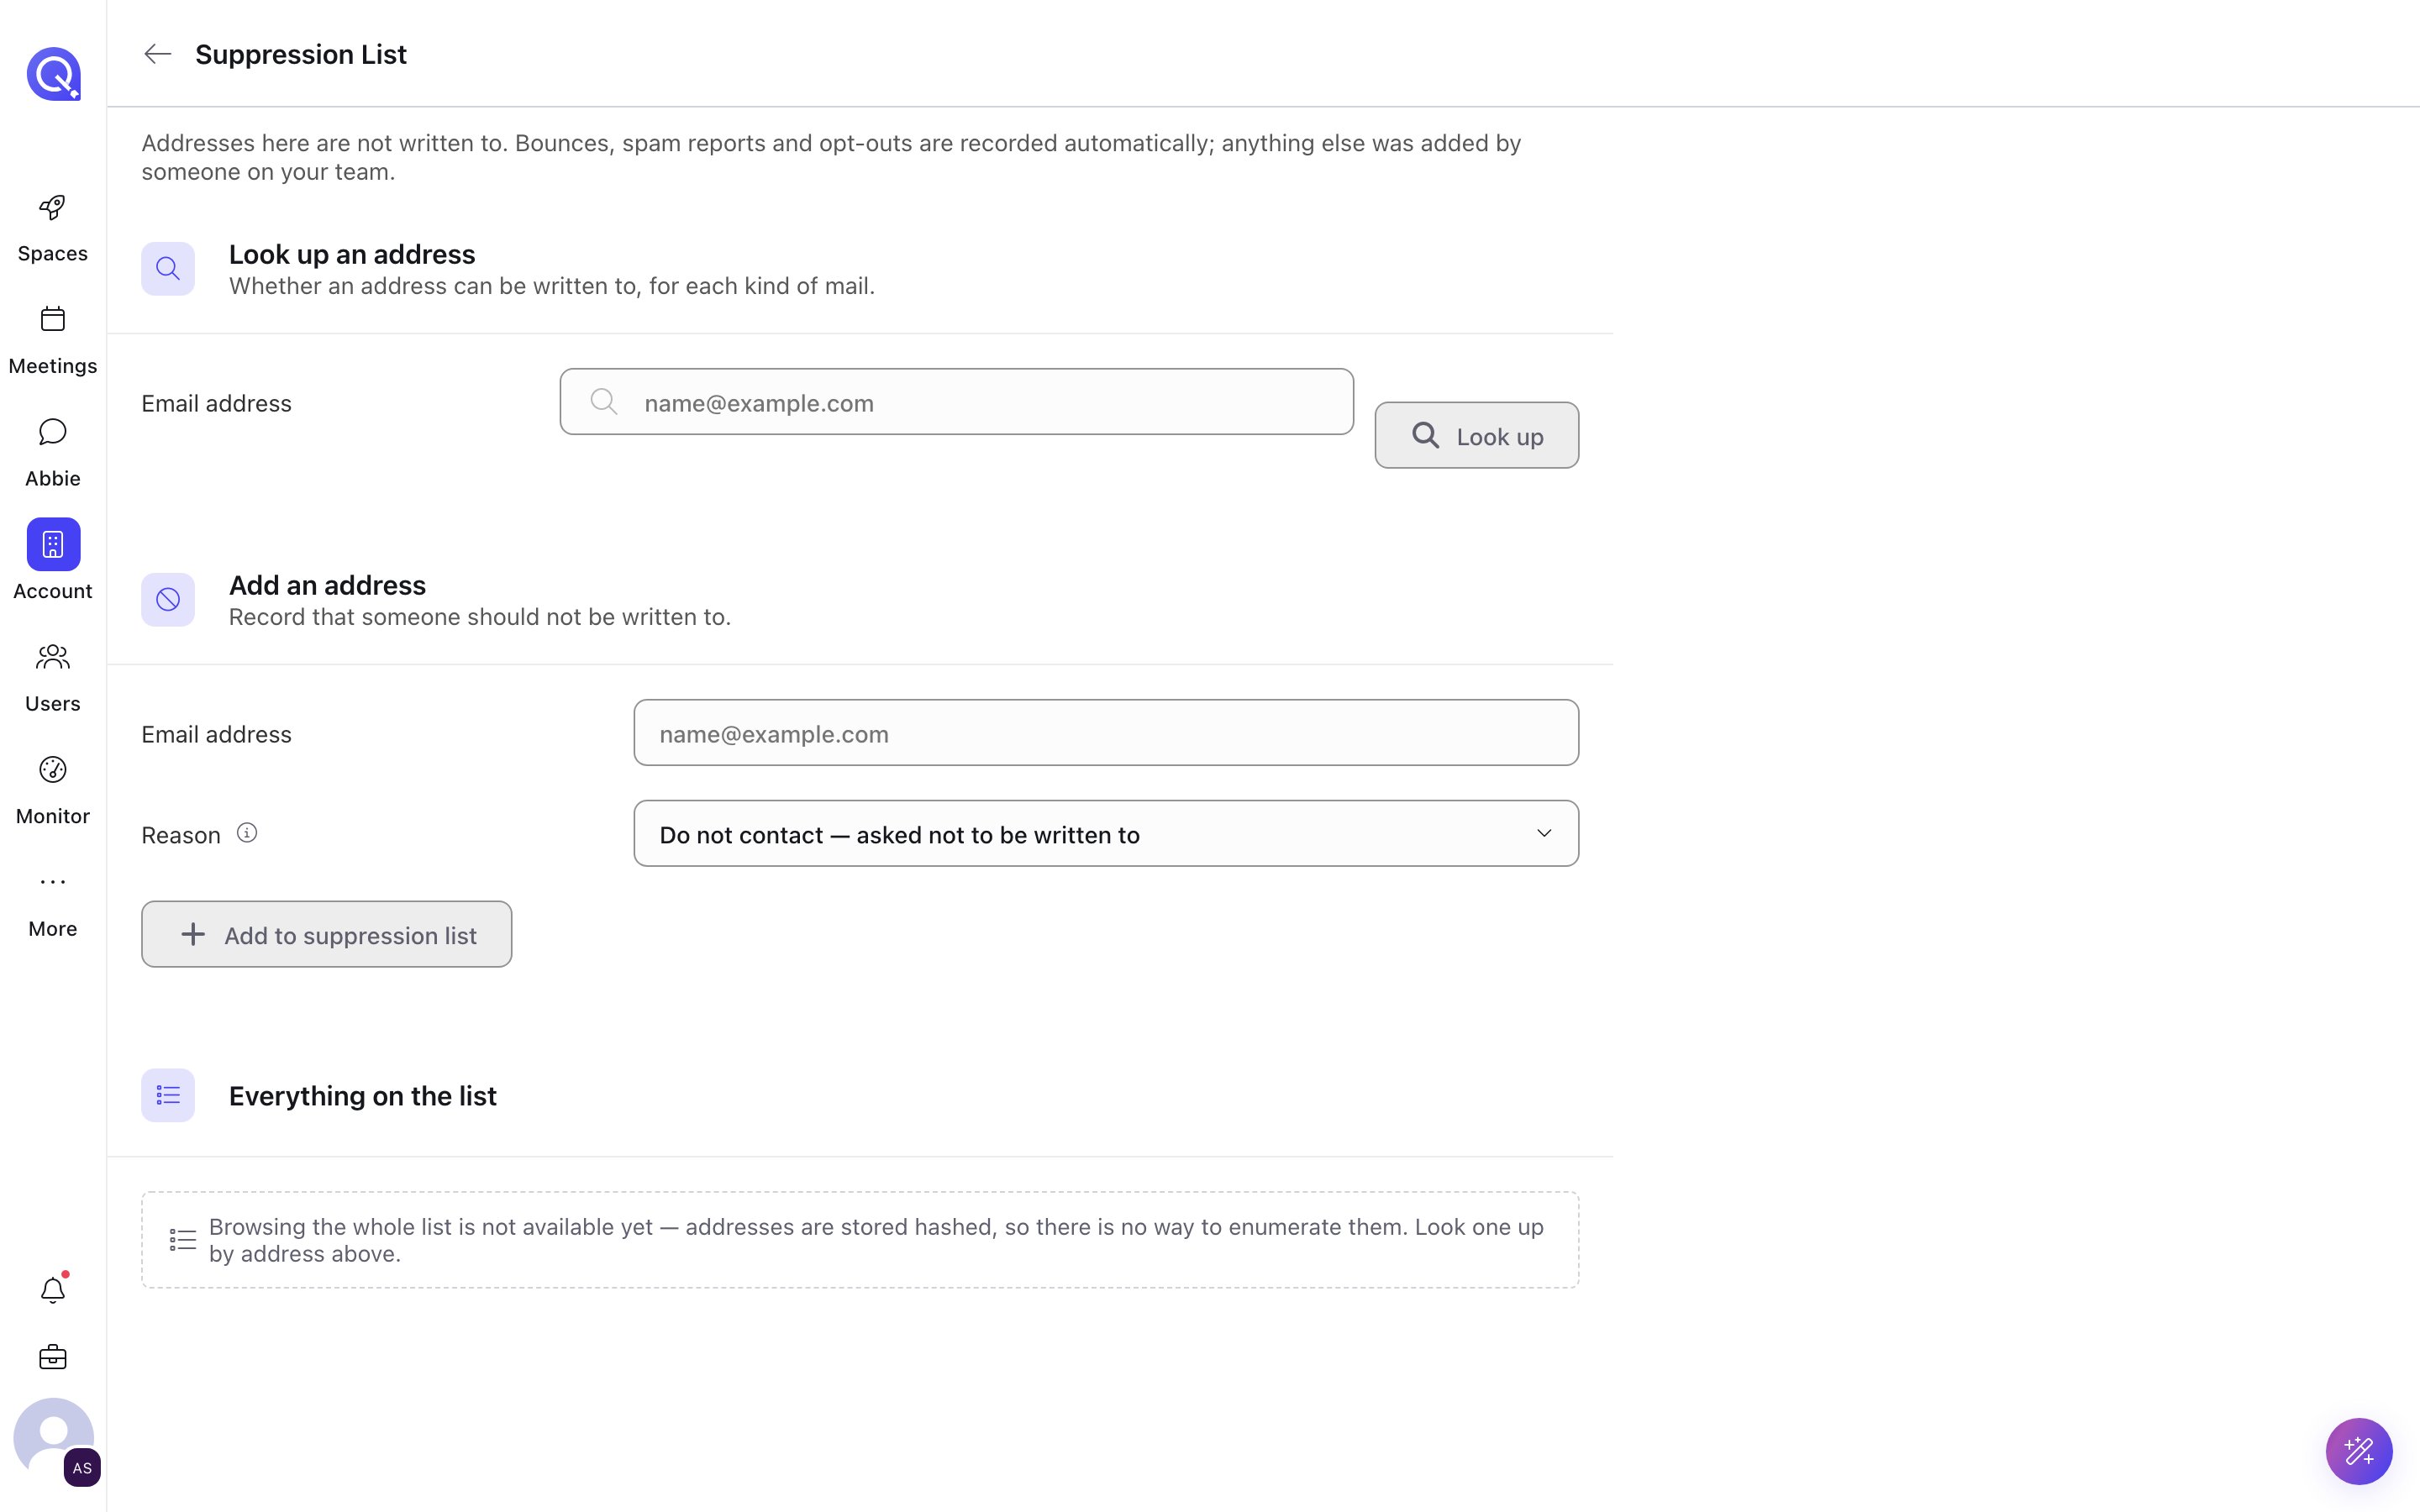
The Suppression list page: look up an address, add one, and the note that the full list cannot be browsed.
On Suppression list you can:
- Look up an address to see whether it can be written to for each kind of mail.
- Add an address with a reason.
- Lift a suppression. You give a reason and type the address to confirm. Lift one only when you are sure the owner wants mail again: re-sending to a bounced or spam-reporting address damages your delivery reputation for everyone else you write to.
Sending domain
An account with no verified domain sends through the platform automatically, with the From name<Account> via QuivaWorks, so nothing is needed to get started. To send from your own domain, enter it under Sending domain, publish the DNS records shown (mail server, two DKIM keys and SPF) with whoever hosts your DNS, then choose Check records. Verification can take minutes or hours depending on the provider. Once verified, mail is sent from your domain.
Sending from flows
- The flow Send email step sends from a published template.
- The Email delivery trigger starts a flow when an email bounces, is blocked or reaches any other delivery event.