Creating Your Account
Get started with QuivaWorks in just a few minutes. This guide walks you through account creation, email verification, and initial setup.Before You Begin
Have these details ready:- A valid email address
- A unique account name (you’ll use this to log in)
- Your location/country
- Payment information (only if choosing a paid plan)
Step 1: Registration
Visit the Signup Page
Navigate to https://app.quiva.ai/en/signup
Complete the Form
Enter the following information:
- Account Name - Your unique login identifier (case-sensitive)
- Email Address - Your primary contact email
- Password - Must contain:
- Minimum 8 characters
- Uppercase and lowercase letters
- At least one number
- At least one special character (!@#$%^&*)
- Country
- First and Last Name
Accept Terms
Review and accept our Terms of Service and Privacy Policy

About Account Names: The account name allows the same email address to be used across multiple QuivaWorks accounts. Choose something memorable as you’ll use it every time you log in.
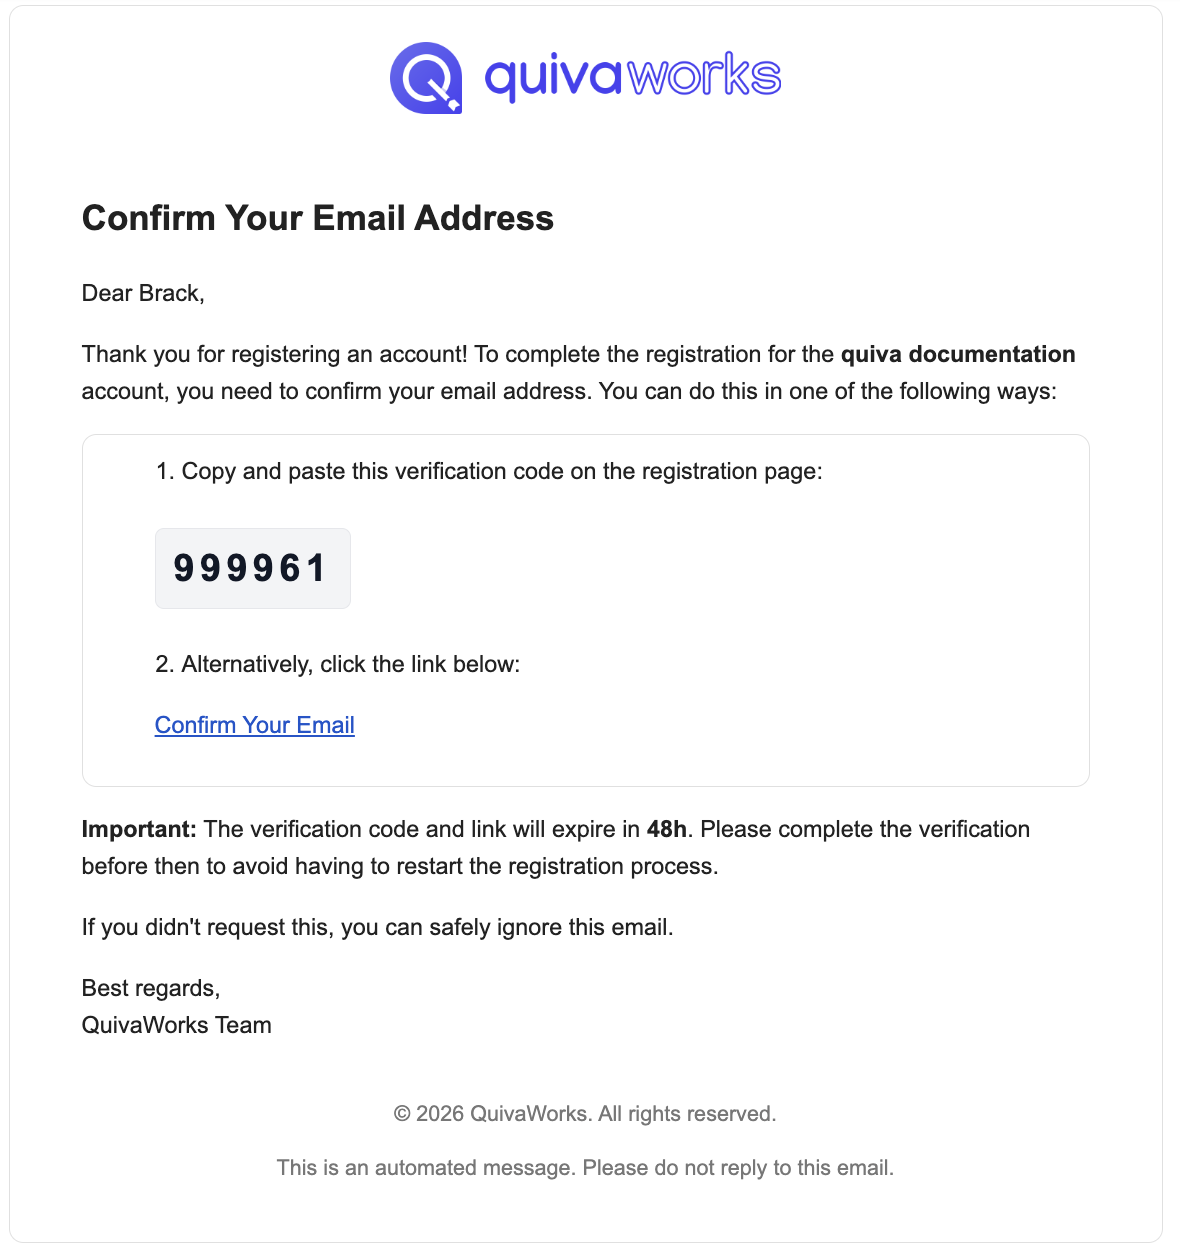
Step 2: Email Verification
After registration, verify your email address to activate your account.- Login Code
- Magic Link
- Check your email for “Confirm Your Email Address”
- Find the 6-digit verification code
- Enter the code on the verification screen
- Click “Verify”
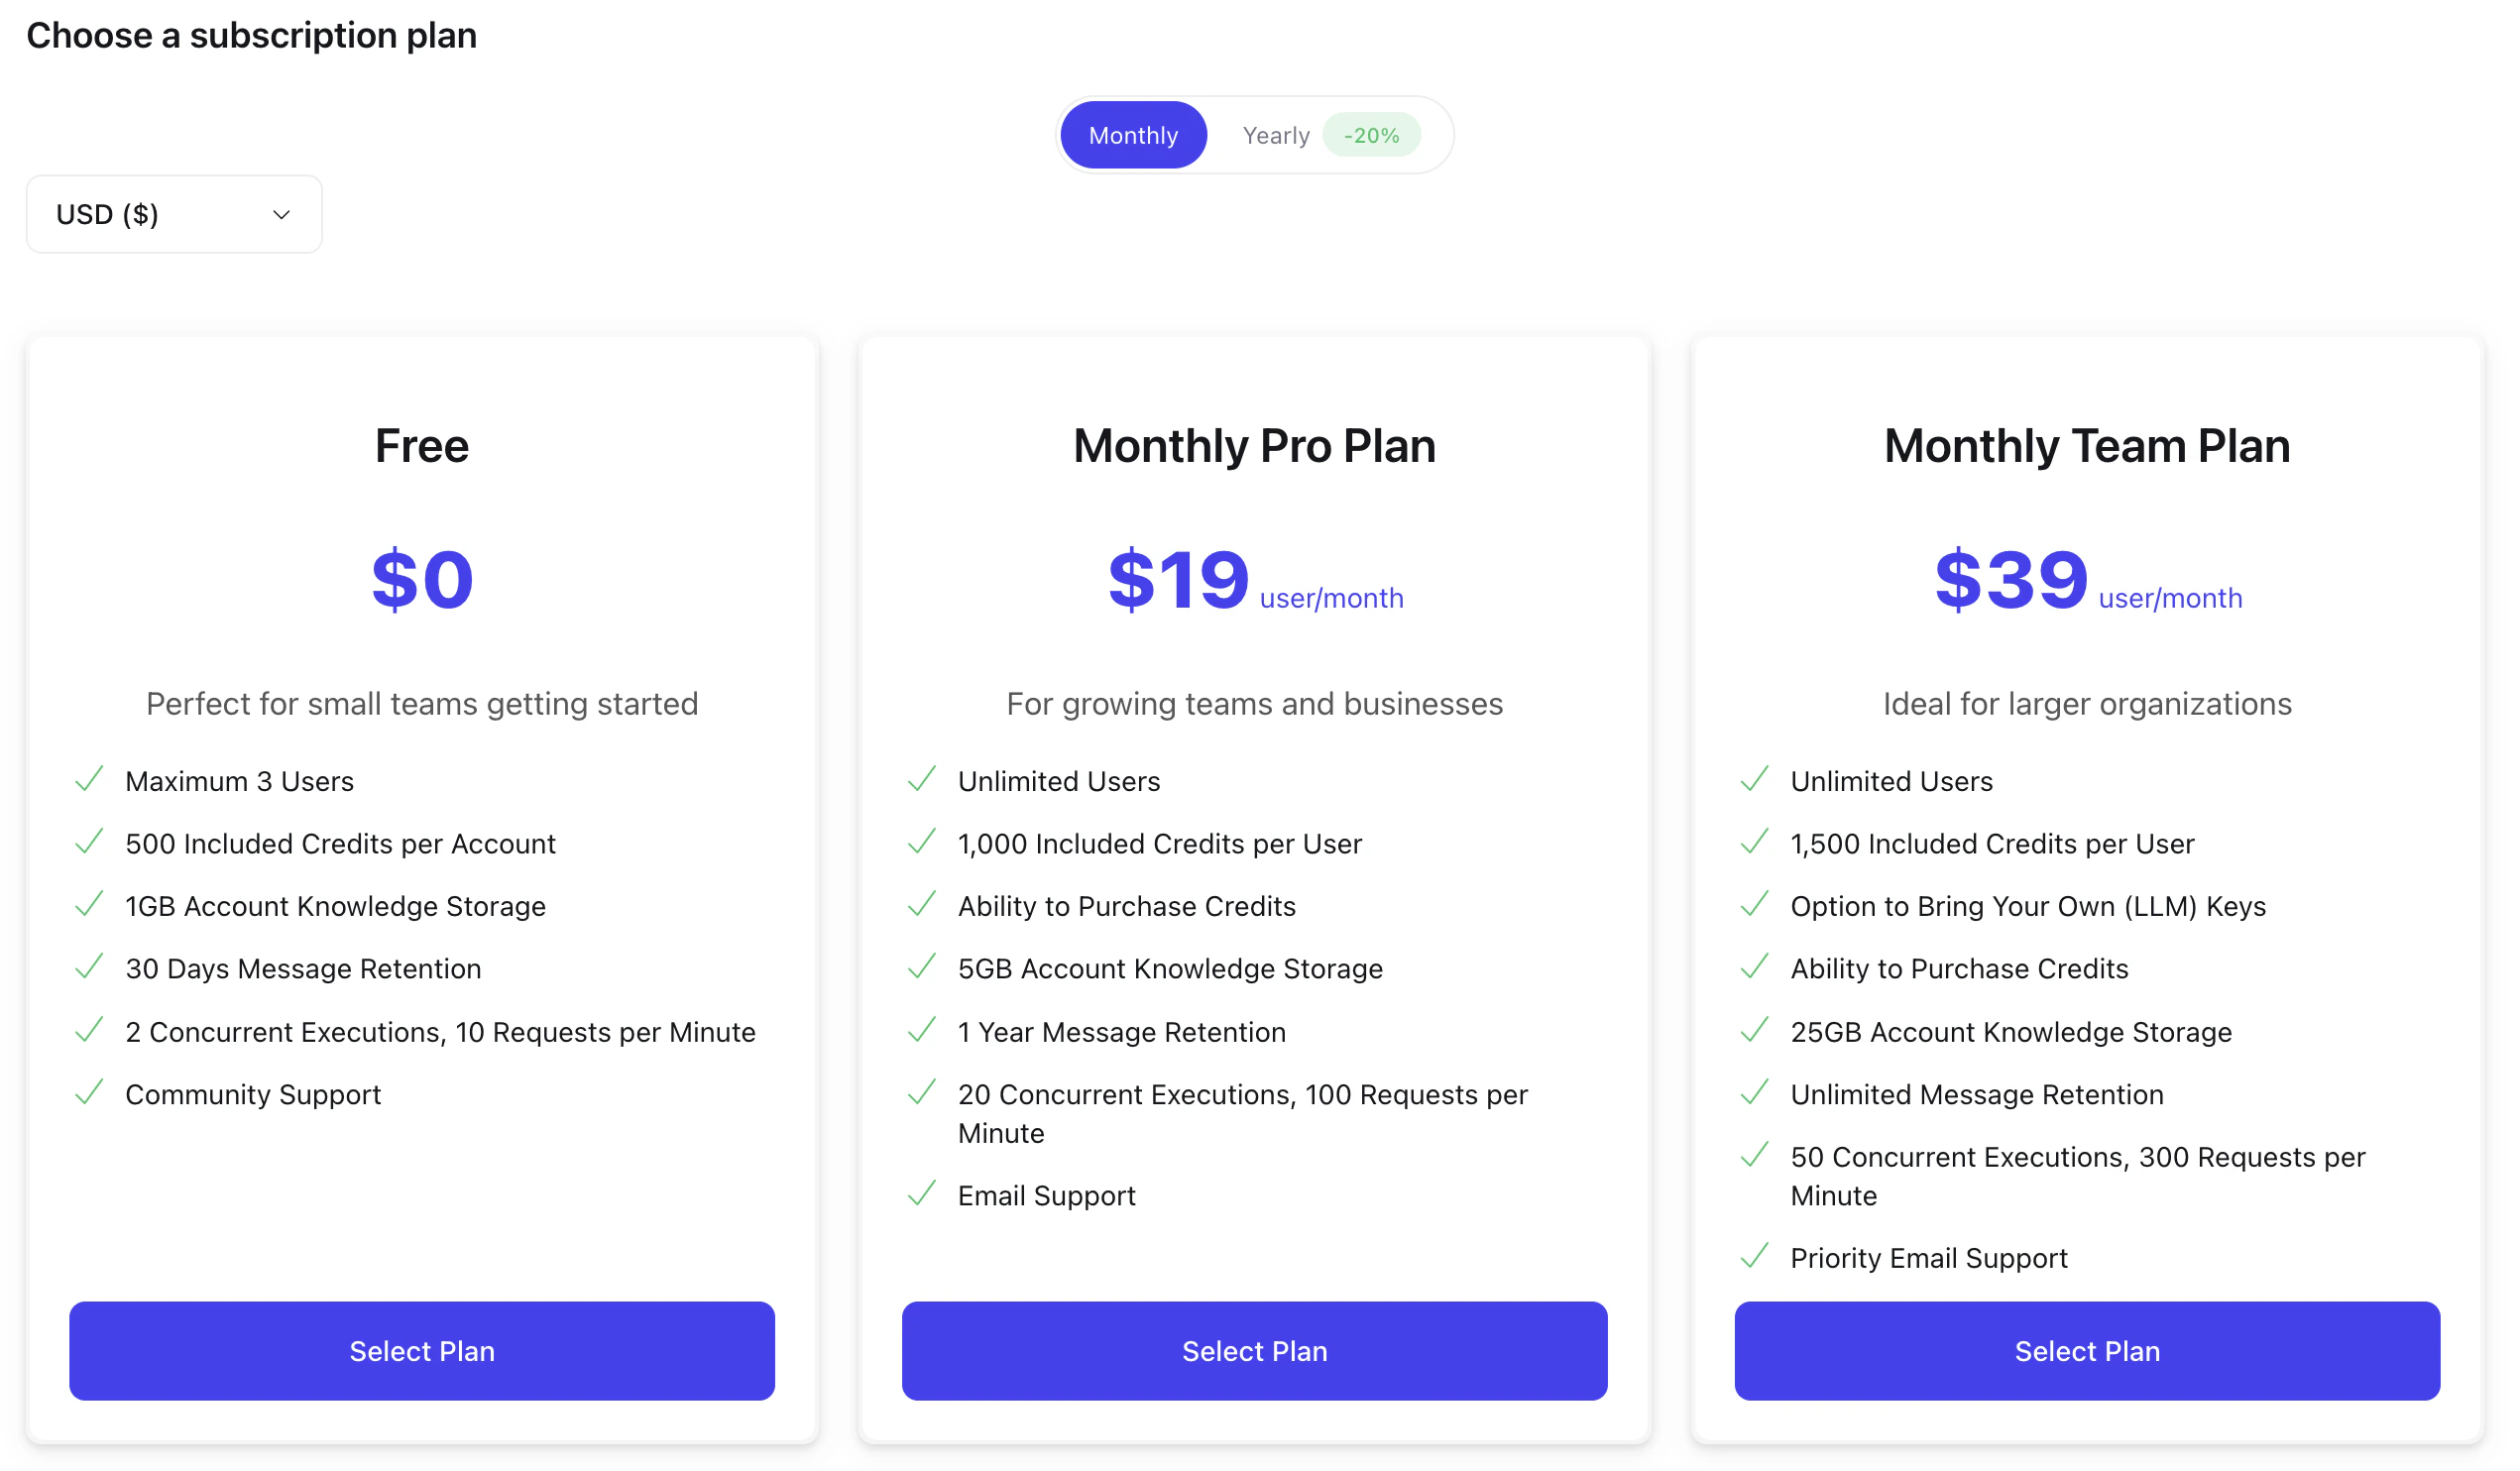
Step 3: Select Your Plan
Choose the plan that matches your needs:Free - $0/month
- 3 agents, 200 flow runs/month
- 500MB storage
- Perfect for exploration
Starter - $20/month
- 5 agents, 2,500 flow runs/month
- 2GB storage
- Premium marketplace access
Pro - $100/month
- 50 agents, 10,000 flow runs/month
- 5GB storage
- Priority support
Team - $500/month
- Unlimited agents, 40,000 flow runs/month
- 50GB storage
- Dedicated support
Step 4: Configure Account Regions
Select where your data will be processed and stored:EU
European Union
- GDPR compliant
- Frankfurt/Paris
US
United States
- Multiple zones
- East/West coast
Australia
Sydney
- APAC region
- Low latency
Your region selection determines where your data is stored and can help you meet compliance requirements like GDPR. You can modify this later in Account Management → Mesh.
Step 5: Secure Your Account
You’ll be prompted to set up MFA on your first login:-
Choose your authentication method:
- Passkey (Recommended) - Use biometrics or device PIN
- Authenticator App - Use Google Authenticator, Authy, etc.
- Follow the setup instructions
-
Save your recovery codes in a secure location:
- Password manager (recommended)
- Encrypted file
- Physical safe
Recovery codes are your backup access method if you lose your MFA device. Store them securely as they can’t be recovered if lost.
Account Setup Checklist
Enable Security
- Set up MFA (passkey or authenticator)
- Save recovery codes securely
- Test login with MFA
Complete Profile
- Update company/organization details
- Add additional account information
Troubleshooting
Didn't receive verification email
Didn't receive verification email
Solutions:
- Check spam/junk folder
- Wait 5 minutes for delivery
- Click “Resend email” on verification screen
- Verify you entered correct email address
- Try a different email provider if issues persist
Account name already taken
Account name already taken
Remember:
- Account names are case-sensitive
- They must be unique across all QuivaWorks accounts
- Try variations or add numbers/underscores
- Consider using your company name or username
Password doesn't meet requirements
Password doesn't meet requirements
Your password must have:
- At least 8 characters (12+ recommended)
- Uppercase letters (A-Z)
- Lowercase letters (a-z)
- Numbers (0-9)
- Special characters (!@#$%^&*)
Cloudflare verification failing
Cloudflare verification failing
Try these solutions:
- Refresh the page and try again
- Disable browser extensions temporarily
- Try a different browser
- Ensure JavaScript is enabled
- Check your internet connection
Multiple Accounts
You can use the same email address for multiple QuivaWorks accounts by choosing different account names. To access different accounts:- Log out of your current account
- Enter the specific account name on the login page
- Enter your email and password
- Complete MFA verification
Next Steps
Build Your First Agent
Create and deploy an intelligent AI agent
Invite Team Members
Add users and assign roles
Explore Marketplace
Browse pre-built solutions
Configure Settings
Customize your account
Need Help?
Documentation
Browse complete guides
Community
Connect with other users
Support
Get help from our team