> ## Documentation Index
> Fetch the complete documentation index at: https://docs.quiva.ai/llms.txt
> Use this file to discover all available pages before exploring further.
# Connecting a Calendar
> Connect Google Calendar or Microsoft Outlook so the notetaker can join your scheduled meetings
## Where calendars live
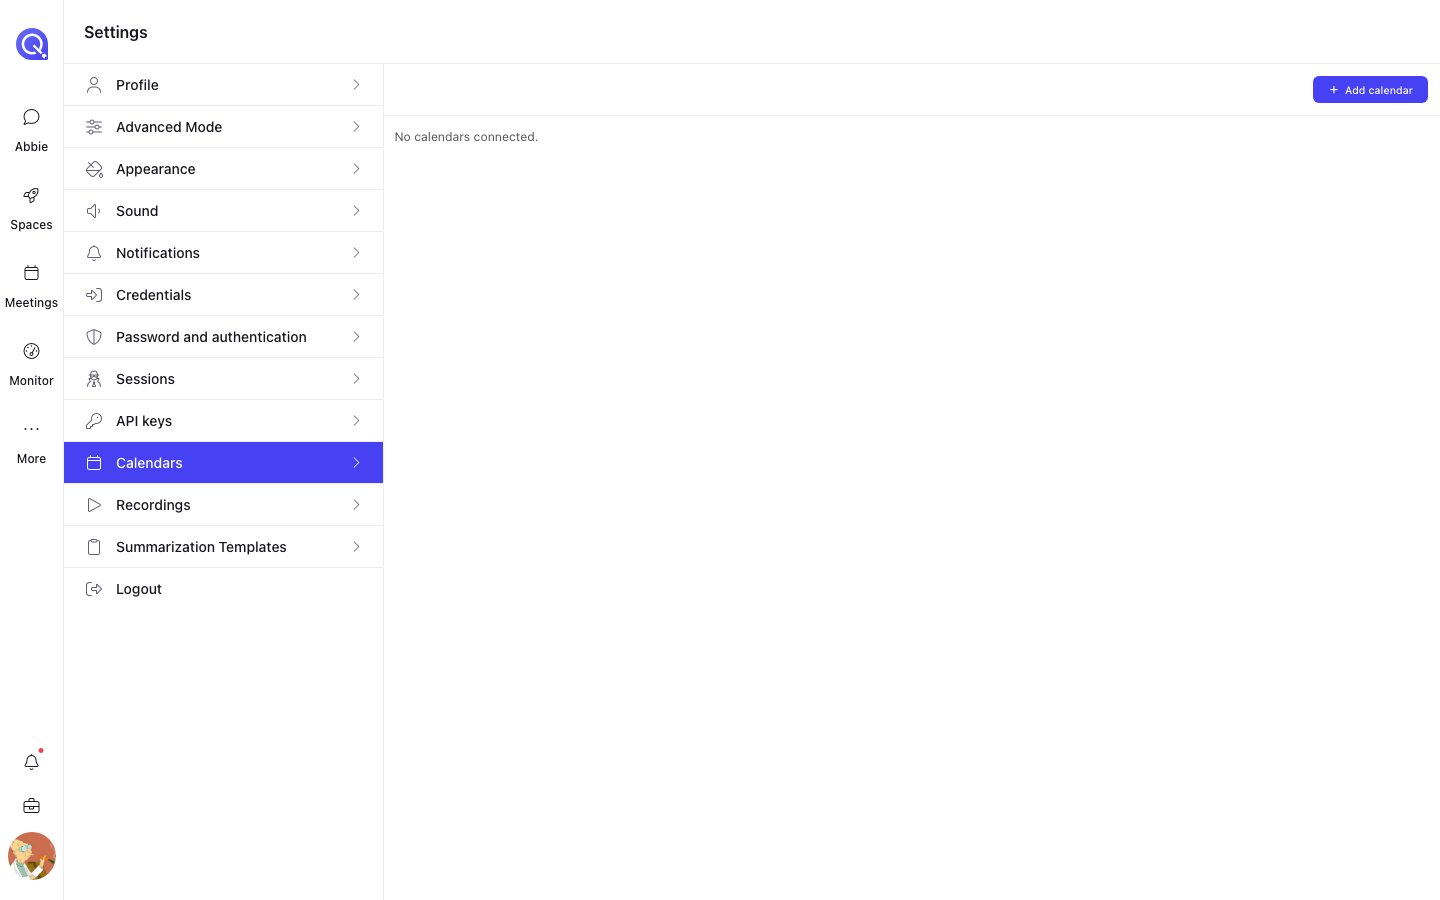
Calendar connections are made in your personal **Settings → Calendars**. The list shows every
calendar you have connected, with its platform, its status and when it was added.
Calendars are **personal**. You OAuth against your own Google or Microsoft account, and the
connection is yours. Client users do not see the Calendars section at all.
 ## Adding a calendar
**Add calendar** opens a two-step wizard.
## Adding a calendar
**Add calendar** opens a two-step wizard.
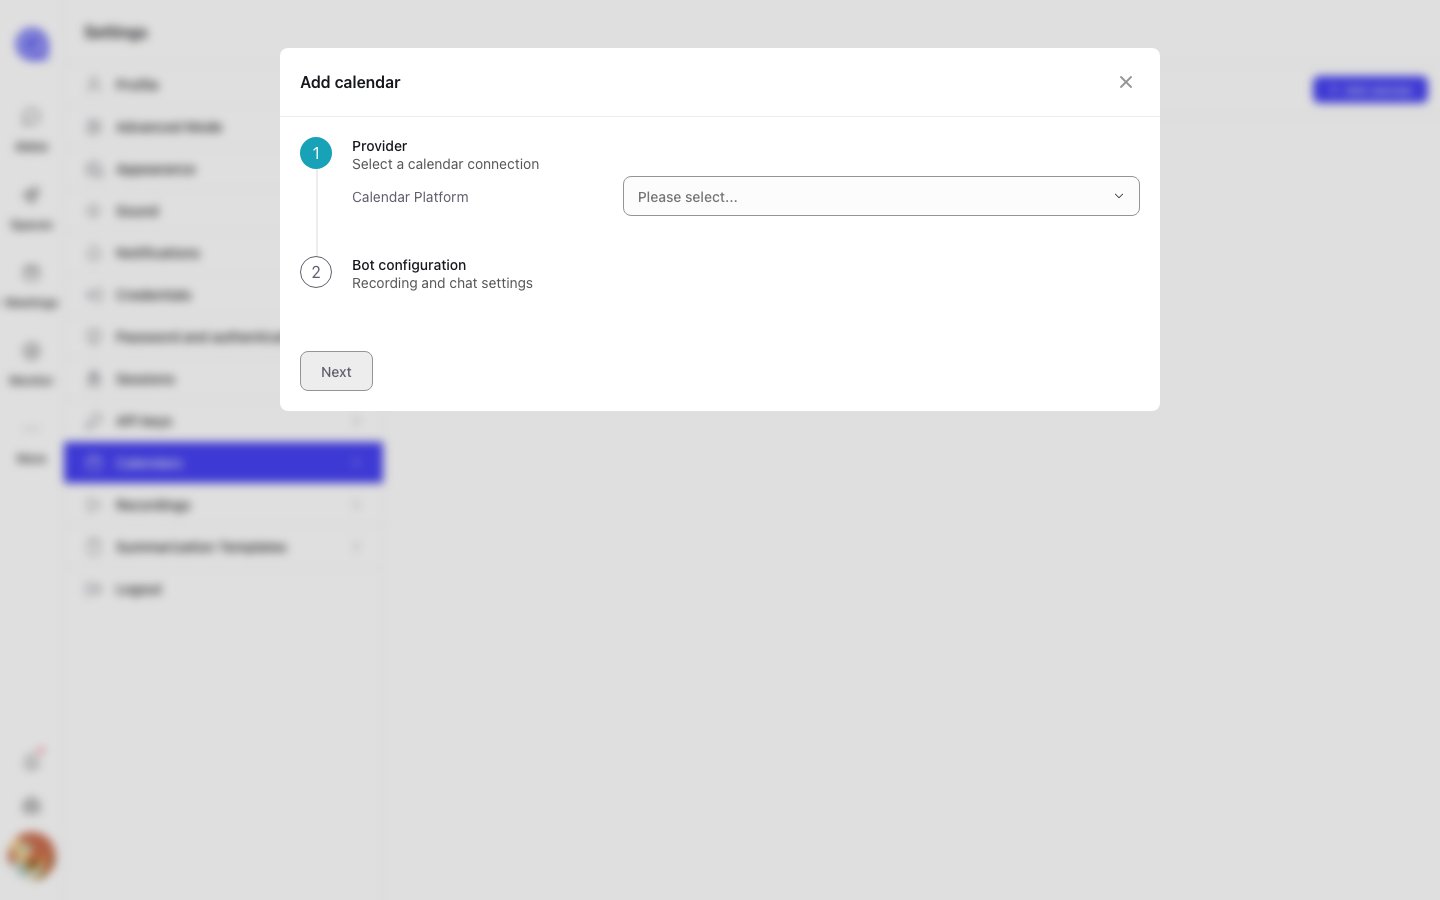 Pick **Google Calendar** or **Microsoft Outlook**.
QuivaWorks then lists the accounts you have already connected for that platform. Choose one,
or press **Connect new account** to authorise a new one. That opens the provider's consent
screen in a new browser tab.
Once you have approved it, come back to the QuivaWorks tab — the connection is picked up
automatically. **Cancel** stops it waiting.
Decide whether the bot joins everything, then set the defaults it will use.
**Join all meetings** — on by default. The bot automatically joins every scheduled meeting on
this calendar. Turn it off to keep the calendar connected but only send the bot to events you
pick by hand.
Below it is the full [bot settings form](/meetings/bot-settings): the bot's name and image,
the Space and folder its output goes to, what it records, how it transcribes, and the chat
messages it posts when it or a participant joins.
**Create Calendar** saves it. The calendar takes a couple of seconds to appear in the list.
**Join all meetings** means all of them. Every event on the connected calendar gets a bot,
including one-to-ones and anything personal that happens to be in the same calendar. If that is
not what you want, turn it off and schedule bots per event instead — see
[Scheduling bots](/meetings/scheduling-bots).
## Connection status
| Status | Meaning |
| -------------- | -------------------------------------------------------------------- |
| **connecting** | The calendar has been created and QuivaWorks is still syncing it |
| **connected** | The calendar is live and its events are visible on the Meetings page |
Only connections that carry an expiry are offered for selection — a connection that never
completed its OAuth handshake will not appear in the list.
## Opening a calendar
Clicking a row in the Calendars list opens that calendar, showing:
* The connected account's **email**, the **platform**, the **calendar ID** and when it was added.
* That calendar's own events, on a calendar view with a time filter.
* A **Settings** action, and a **Delete** action.
### Calendar bot settings
The cog on an open calendar edits the bot settings the calendar applies to new meetings. It is the
same form as step 2 above, with one extra control at the bottom:
**Apply to existing bots** — off by default. Changing a calendar's settings does *not* update bots
that are already scheduled. Turn this on to push the new settings onto them as well.
Without **Apply to existing bots**, a settings change only affects meetings that have not been
scheduled a bot yet. This catches people out when they change the Space & folder destination and
find the next few meetings still filing to the old one.
## Removing a calendar and removing a connection
These are two different things, and the difference matters.
| Action | Where | What it removes |
| --------------------- | -------------------------------------------------------------- | -------------------------------------------------------------------------------------------------------------------------------------------------- |
| **Delete calendar** | The open calendar's trash action | The QuivaWorks calendar and its scheduled bots. The underlying OAuth connection to Google or Microsoft stays, and can be reused for a new calendar |
| **Delete connection** | The trash icon on a connection card in the Add calendar wizard | The OAuth grant itself. Any calendar built on it stops working |
Deleting a calendar does not delete recordings that have already been made.
## What to do next
Every field on the form you just filled in.
Putting a bot on a single event when Join all meetings is off.
Pick **Google Calendar** or **Microsoft Outlook**.
QuivaWorks then lists the accounts you have already connected for that platform. Choose one,
or press **Connect new account** to authorise a new one. That opens the provider's consent
screen in a new browser tab.
Once you have approved it, come back to the QuivaWorks tab — the connection is picked up
automatically. **Cancel** stops it waiting.
Decide whether the bot joins everything, then set the defaults it will use.
**Join all meetings** — on by default. The bot automatically joins every scheduled meeting on
this calendar. Turn it off to keep the calendar connected but only send the bot to events you
pick by hand.
Below it is the full [bot settings form](/meetings/bot-settings): the bot's name and image,
the Space and folder its output goes to, what it records, how it transcribes, and the chat
messages it posts when it or a participant joins.
**Create Calendar** saves it. The calendar takes a couple of seconds to appear in the list.
**Join all meetings** means all of them. Every event on the connected calendar gets a bot,
including one-to-ones and anything personal that happens to be in the same calendar. If that is
not what you want, turn it off and schedule bots per event instead — see
[Scheduling bots](/meetings/scheduling-bots).
## Connection status
| Status | Meaning |
| -------------- | -------------------------------------------------------------------- |
| **connecting** | The calendar has been created and QuivaWorks is still syncing it |
| **connected** | The calendar is live and its events are visible on the Meetings page |
Only connections that carry an expiry are offered for selection — a connection that never
completed its OAuth handshake will not appear in the list.
## Opening a calendar
Clicking a row in the Calendars list opens that calendar, showing:
* The connected account's **email**, the **platform**, the **calendar ID** and when it was added.
* That calendar's own events, on a calendar view with a time filter.
* A **Settings** action, and a **Delete** action.
### Calendar bot settings
The cog on an open calendar edits the bot settings the calendar applies to new meetings. It is the
same form as step 2 above, with one extra control at the bottom:
**Apply to existing bots** — off by default. Changing a calendar's settings does *not* update bots
that are already scheduled. Turn this on to push the new settings onto them as well.
Without **Apply to existing bots**, a settings change only affects meetings that have not been
scheduled a bot yet. This catches people out when they change the Space & folder destination and
find the next few meetings still filing to the old one.
## Removing a calendar and removing a connection
These are two different things, and the difference matters.
| Action | Where | What it removes |
| --------------------- | -------------------------------------------------------------- | -------------------------------------------------------------------------------------------------------------------------------------------------- |
| **Delete calendar** | The open calendar's trash action | The QuivaWorks calendar and its scheduled bots. The underlying OAuth connection to Google or Microsoft stays, and can be reused for a new calendar |
| **Delete connection** | The trash icon on a connection card in the Add calendar wizard | The OAuth grant itself. Any calendar built on it stops working |
Deleting a calendar does not delete recordings that have already been made.
## What to do next
Every field on the form you just filled in.
Putting a bot on a single event when Join all meetings is off.