> ## Documentation Index
> Fetch the complete documentation index at: https://docs.quiva.ai/llms.txt
> Use this file to discover all available pages before exploring further.
# Creating Your Account
> Step-by-step guide to creating and setting up your QuivaWorks account
# Creating Your Account
Get started with QuivaWorks in just a few minutes. This guide walks you through account creation, email verification, and initial setup.
## Before You Begin
Have these details ready:
* A valid email address
* A unique account name (you'll use this to log in)
* Your location/country
* Payment information (only if choosing a paid plan)
## Step 1: Registration
Navigate to [https://app.quiva.ai/en/signup](https://app.quiva.ai/en/signup)
Enter the following information:
* **Account Name** - Your unique login identifier (case-sensitive)
* **Email Address** - Your primary contact email
* **Password** - Must contain:
* Minimum 8 characters
* Uppercase and lowercase letters
* At least one number
* At least one special character (!@#\$%^&\*)
* **Country**
* **First and Last Name**
Review and accept our [Terms of Service](https://quiva.ai/legal.html#terms) and [Privacy Policy](https://quiva.ai/legal.html#privacy)
Complete the Cloudflare verification to confirm you're human
Click the submit button to create your account
 **About Account Names:** The account name allows the same email address to be used across multiple QuivaWorks accounts. Choose something memorable as you'll use it every time you log in.
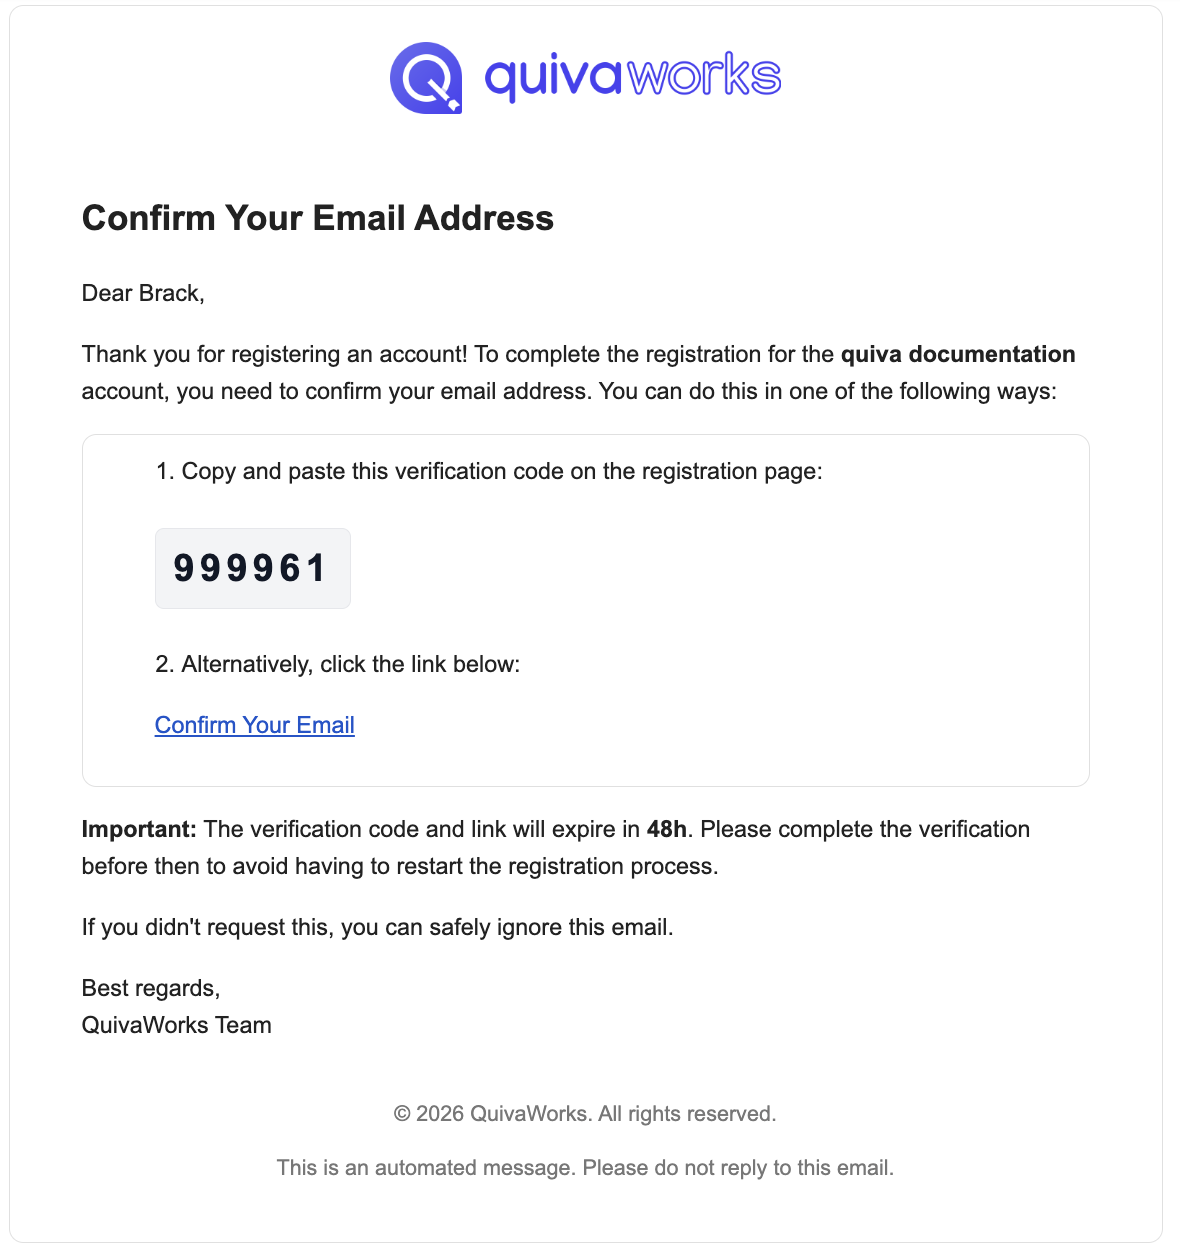
## Step 2: Email Verification
After registration, verify your email address to activate your account.
1. Check your email for "Confirm Your Email Address"
2. Find the 6-digit verification code
3. Enter the code on the verification screen
4. Click "Verify"
1. Check your email for "Confirm Your Email Address"
2. Click the "Confirm your email" button
3. You'll be automatically logged into your new account
**About Account Names:** The account name allows the same email address to be used across multiple QuivaWorks accounts. Choose something memorable as you'll use it every time you log in.
## Step 2: Email Verification
After registration, verify your email address to activate your account.
1. Check your email for "Confirm Your Email Address"
2. Find the 6-digit verification code
3. Enter the code on the verification screen
4. Click "Verify"
1. Check your email for "Confirm Your Email Address"
2. Click the "Confirm your email" button
3. You'll be automatically logged into your new account
 **Time Limit:** Accounts must be verified within 48 hours or they'll be automatically deleted. Check your spam folder if you don't receive the email within 5 minutes.
## Step 3: Select Your Plan
Choose the plan that matches your needs:
* 3 agents, 200 flow runs/month
* 500MB storage
* Perfect for exploration
[View details →](/get-started/plans-and-pricing#free)
* 5 agents, 2,500 flow runs/month
* 2GB storage
* Premium marketplace access
[View details →](/get-started/plans-and-pricing#starter)
* 50 agents, 10,000 flow runs/month
* 5GB storage
* Priority support
[View details →](/get-started/plans-and-pricing#pro)
* Unlimited agents, 40,000 flow runs/month
* 50GB storage
* Dedicated support
[View details →](/get-started/plans-and-pricing#team)
**Time Limit:** Accounts must be verified within 48 hours or they'll be automatically deleted. Check your spam folder if you don't receive the email within 5 minutes.
## Step 3: Select Your Plan
Choose the plan that matches your needs:
* 3 agents, 200 flow runs/month
* 500MB storage
* Perfect for exploration
[View details →](/get-started/plans-and-pricing#free)
* 5 agents, 2,500 flow runs/month
* 2GB storage
* Premium marketplace access
[View details →](/get-started/plans-and-pricing#starter)
* 50 agents, 10,000 flow runs/month
* 5GB storage
* Priority support
[View details →](/get-started/plans-and-pricing#pro)
* Unlimited agents, 40,000 flow runs/month
* 50GB storage
* Dedicated support
[View details →](/get-started/plans-and-pricing#team)
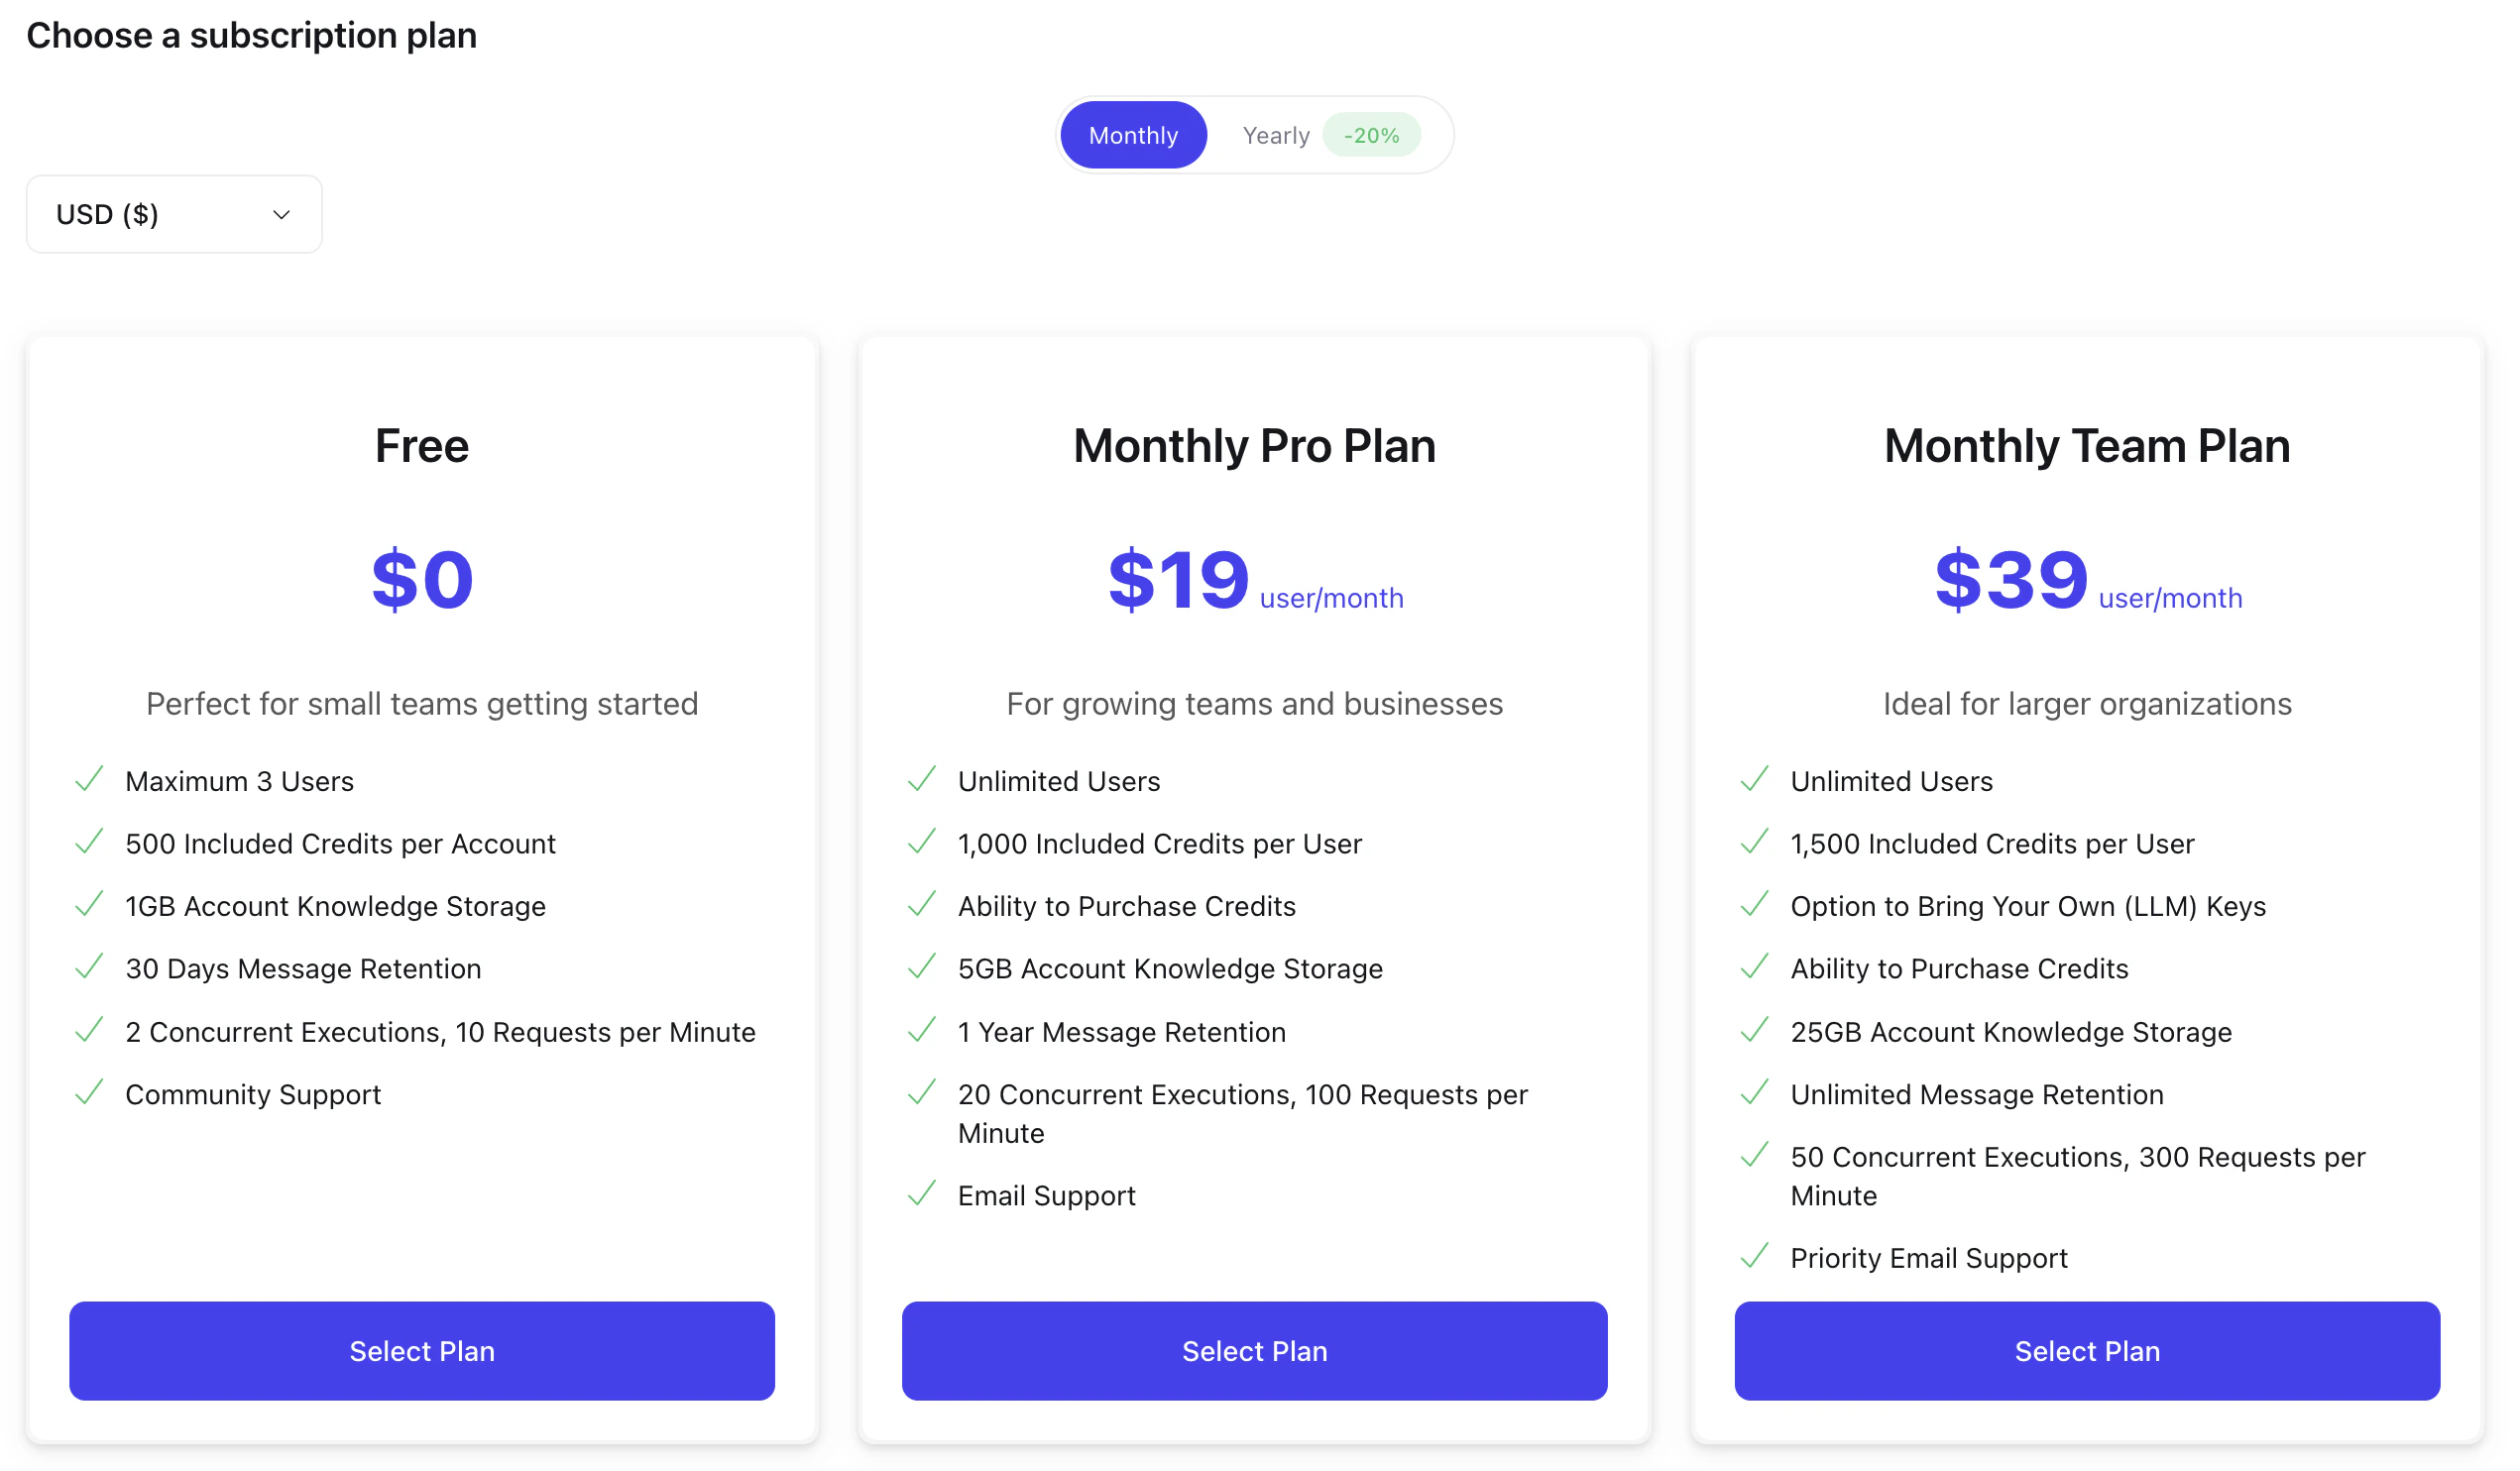 Start with the Free plan to explore QuivaWorks. You can upgrade at any time as your needs grow.
## Step 4: Configure Account Regions
Select where your data will be processed and stored:
European Union
* GDPR compliant
* Frankfurt/Paris
United States
* Multiple zones
* East/West coast
Sydney
* APAC region
* Low latency
Your region selection determines where your data is stored and can help you meet compliance requirements like GDPR. You can modify this later in **Account Management → Mesh**.
## Step 5: Secure Your Account
**Critical Security Step:** Enable multi-factor authentication immediately after account creation.
You'll be prompted to set up MFA on your first login:
1. Choose your authentication method:
* **Passkey** (Recommended) - Use biometrics or device PIN
* **Authenticator App** - Use Google Authenticator, Authy, etc.
2. Follow the setup instructions
3. **Save your recovery codes** in a secure location:
* Password manager (recommended)
* Encrypted file
* Physical safe
Recovery codes are your backup access method if you lose your MFA device. Store them securely as they can't be recovered if lost.
[Complete MFA setup guide →](/essentials/security/authentication)
## Account Setup Checklist
* [ ] Register with email and unique account name
* [ ] Verify email within 48 hours
* [ ] Choose appropriate plan for your needs
* [ ] Complete billing information (if paid plan)
* [ ] Select data processing locations
* [ ] Verify compliance requirements met
* [ ] Set up MFA (passkey or authenticator)
* [ ] Save recovery codes securely
* [ ] Test login with MFA
* [ ] Update company/organization details
* [ ] Add additional account information
[Update account details →](/essentials/account/account-settings)
## Troubleshooting
**Solutions:**
* Check spam/junk folder
* Wait 5 minutes for delivery
* Click "Resend email" on verification screen
* Verify you entered correct email address
* Try a different email provider if issues persist
**Remember:**
* Account names are case-sensitive
* They must be unique across all QuivaWorks accounts
* Try variations or add numbers/underscores
* Consider using your company name or username
**Your password must have:**
* At least 8 characters (12+ recommended)
* Uppercase letters (A-Z)
* Lowercase letters (a-z)
* Numbers (0-9)
* Special characters (!@#\$%^&\*)
Use a password manager to generate strong passwords.
**Try these solutions:**
* Refresh the page and try again
* Disable browser extensions temporarily
* Try a different browser
* Ensure JavaScript is enabled
* Check your internet connection
## Multiple Accounts
You can use the same email address for multiple QuivaWorks accounts by choosing different account names.
**To access different accounts:**
1. Log out of your current account
2. Enter the specific **account name** on the login page
3. Enter your email and password
4. Complete MFA verification
Each account operates independently with its own resources, billing, and users.
## Next Steps
Create and deploy an intelligent AI agent
Add users and assign roles
Browse pre-built solutions
Customize your account
## Need Help?
Browse complete guides
Connect with other users
Get help from our team
Start with the Free plan to explore QuivaWorks. You can upgrade at any time as your needs grow.
## Step 4: Configure Account Regions
Select where your data will be processed and stored:
European Union
* GDPR compliant
* Frankfurt/Paris
United States
* Multiple zones
* East/West coast
Sydney
* APAC region
* Low latency
Your region selection determines where your data is stored and can help you meet compliance requirements like GDPR. You can modify this later in **Account Management → Mesh**.
## Step 5: Secure Your Account
**Critical Security Step:** Enable multi-factor authentication immediately after account creation.
You'll be prompted to set up MFA on your first login:
1. Choose your authentication method:
* **Passkey** (Recommended) - Use biometrics or device PIN
* **Authenticator App** - Use Google Authenticator, Authy, etc.
2. Follow the setup instructions
3. **Save your recovery codes** in a secure location:
* Password manager (recommended)
* Encrypted file
* Physical safe
Recovery codes are your backup access method if you lose your MFA device. Store them securely as they can't be recovered if lost.
[Complete MFA setup guide →](/essentials/security/authentication)
## Account Setup Checklist
* [ ] Register with email and unique account name
* [ ] Verify email within 48 hours
* [ ] Choose appropriate plan for your needs
* [ ] Complete billing information (if paid plan)
* [ ] Select data processing locations
* [ ] Verify compliance requirements met
* [ ] Set up MFA (passkey or authenticator)
* [ ] Save recovery codes securely
* [ ] Test login with MFA
* [ ] Update company/organization details
* [ ] Add additional account information
[Update account details →](/essentials/account/account-settings)
## Troubleshooting
**Solutions:**
* Check spam/junk folder
* Wait 5 minutes for delivery
* Click "Resend email" on verification screen
* Verify you entered correct email address
* Try a different email provider if issues persist
**Remember:**
* Account names are case-sensitive
* They must be unique across all QuivaWorks accounts
* Try variations or add numbers/underscores
* Consider using your company name or username
**Your password must have:**
* At least 8 characters (12+ recommended)
* Uppercase letters (A-Z)
* Lowercase letters (a-z)
* Numbers (0-9)
* Special characters (!@#\$%^&\*)
Use a password manager to generate strong passwords.
**Try these solutions:**
* Refresh the page and try again
* Disable browser extensions temporarily
* Try a different browser
* Ensure JavaScript is enabled
* Check your internet connection
## Multiple Accounts
You can use the same email address for multiple QuivaWorks accounts by choosing different account names.
**To access different accounts:**
1. Log out of your current account
2. Enter the specific **account name** on the login page
3. Enter your email and password
4. Complete MFA verification
Each account operates independently with its own resources, billing, and users.
## Next Steps
Create and deploy an intelligent AI agent
Add users and assign roles
Browse pre-built solutions
Customize your account
## Need Help?
Browse complete guides
Connect with other users
Get help from our team